Sponsors/Ads
Contents
Working with Banner Ads
The Sponsorship module provides options for offering advertising opportunities to your members. This will give them additional exposure, as well as bring in additional revenue to your association. Through the back office you can upload and manage member advertisements. This includes the ability to select which module page the ads should appear on, which member the ad runs for, and what size of ad should display (the software provides you with a list of common advertising sizes, so you can easily place these on your web-site).
Setting up Banner Ad sizes
When preparing to sell/display ads on your web-site, you must specify the ad sizes you wish to use. You can create specific advertising types, and select from a pre-populated list of common ad sizes. This will give you a starting point that will help in easily working with advertisers.
- Select Sponsorship in the left hand navigation panel.
- Click the Advertising Types tab. A list of all previously created advertising types may be displayed on.
- Click the Add Type button.
- Select the Ad Style from the drop-down list. The list is pre-populated with industry standard styles (Click Here for further information on industry standard ad styles). Once you have selected an ad size, the system will automatically populate the name and size (height and width) of the ad.
- Click Done


Enable/Disable Ads on Pages
Click the Enable/Disable on Pages button to view and/or modify which pages your Advertisement Types are displayed on.
- On the Advertisement Types tab, click the Enable/Disable on Pages button. A list of pages on which your advertisement types configured for display is shown. NOTE: Only the pages that you have previously configured for advertising will be displayed. Click Here to learn how to configure your pages for advertisements.
- To change the placement of an ad, click the drop down arrow for the Top of Page and Bottom of Page options.
- Click Done.

Adding Advertisements
- Select Sponsorship in the left hand navigation panel.
- Click the Advertisements tab. A list of all previously added advertisements will be displayed.
- Click the Add button.
- Configure the following settings:
- Contact: Enter the name of the contact person for this advertisement. This field will not be displayed on your web-site.
- Description: Enter a description of the advertisement. This field will not be displayed on your web-site.
- Start Date: Select the date this advertisement will begin to display on your web-site.
- End Date: Select the date this advertisement will no longer be displayed on your web-site.
- Advertisement Url: Enter the url for to which you want to direct the user from the ad. This could also be a link to a specific URL, for example and organization's web-site, or a link to the registration page for a hotel reservations, or a sign up for a particular promotion.
- Open In New Window: Select the check-box if you want the user to keep the current window (your web-site) open.
- Advertisement List: Click the
 icon to configure the new advertisement.

- Select an Advertisement Type from the drop-down list (Click Here for information on setting up your advertisement types). The Image Manager dialog box will be displayed.
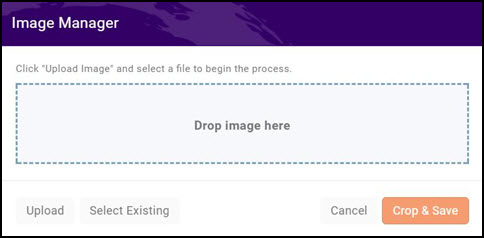
- Click the Upload button to upload the advertisement.
- Click Crop & Save.
- NOTE: You can add additional advertisement by clicking the icon, and repeating the steps above.
- Once you have added all the advertisements you wish, click Done.


